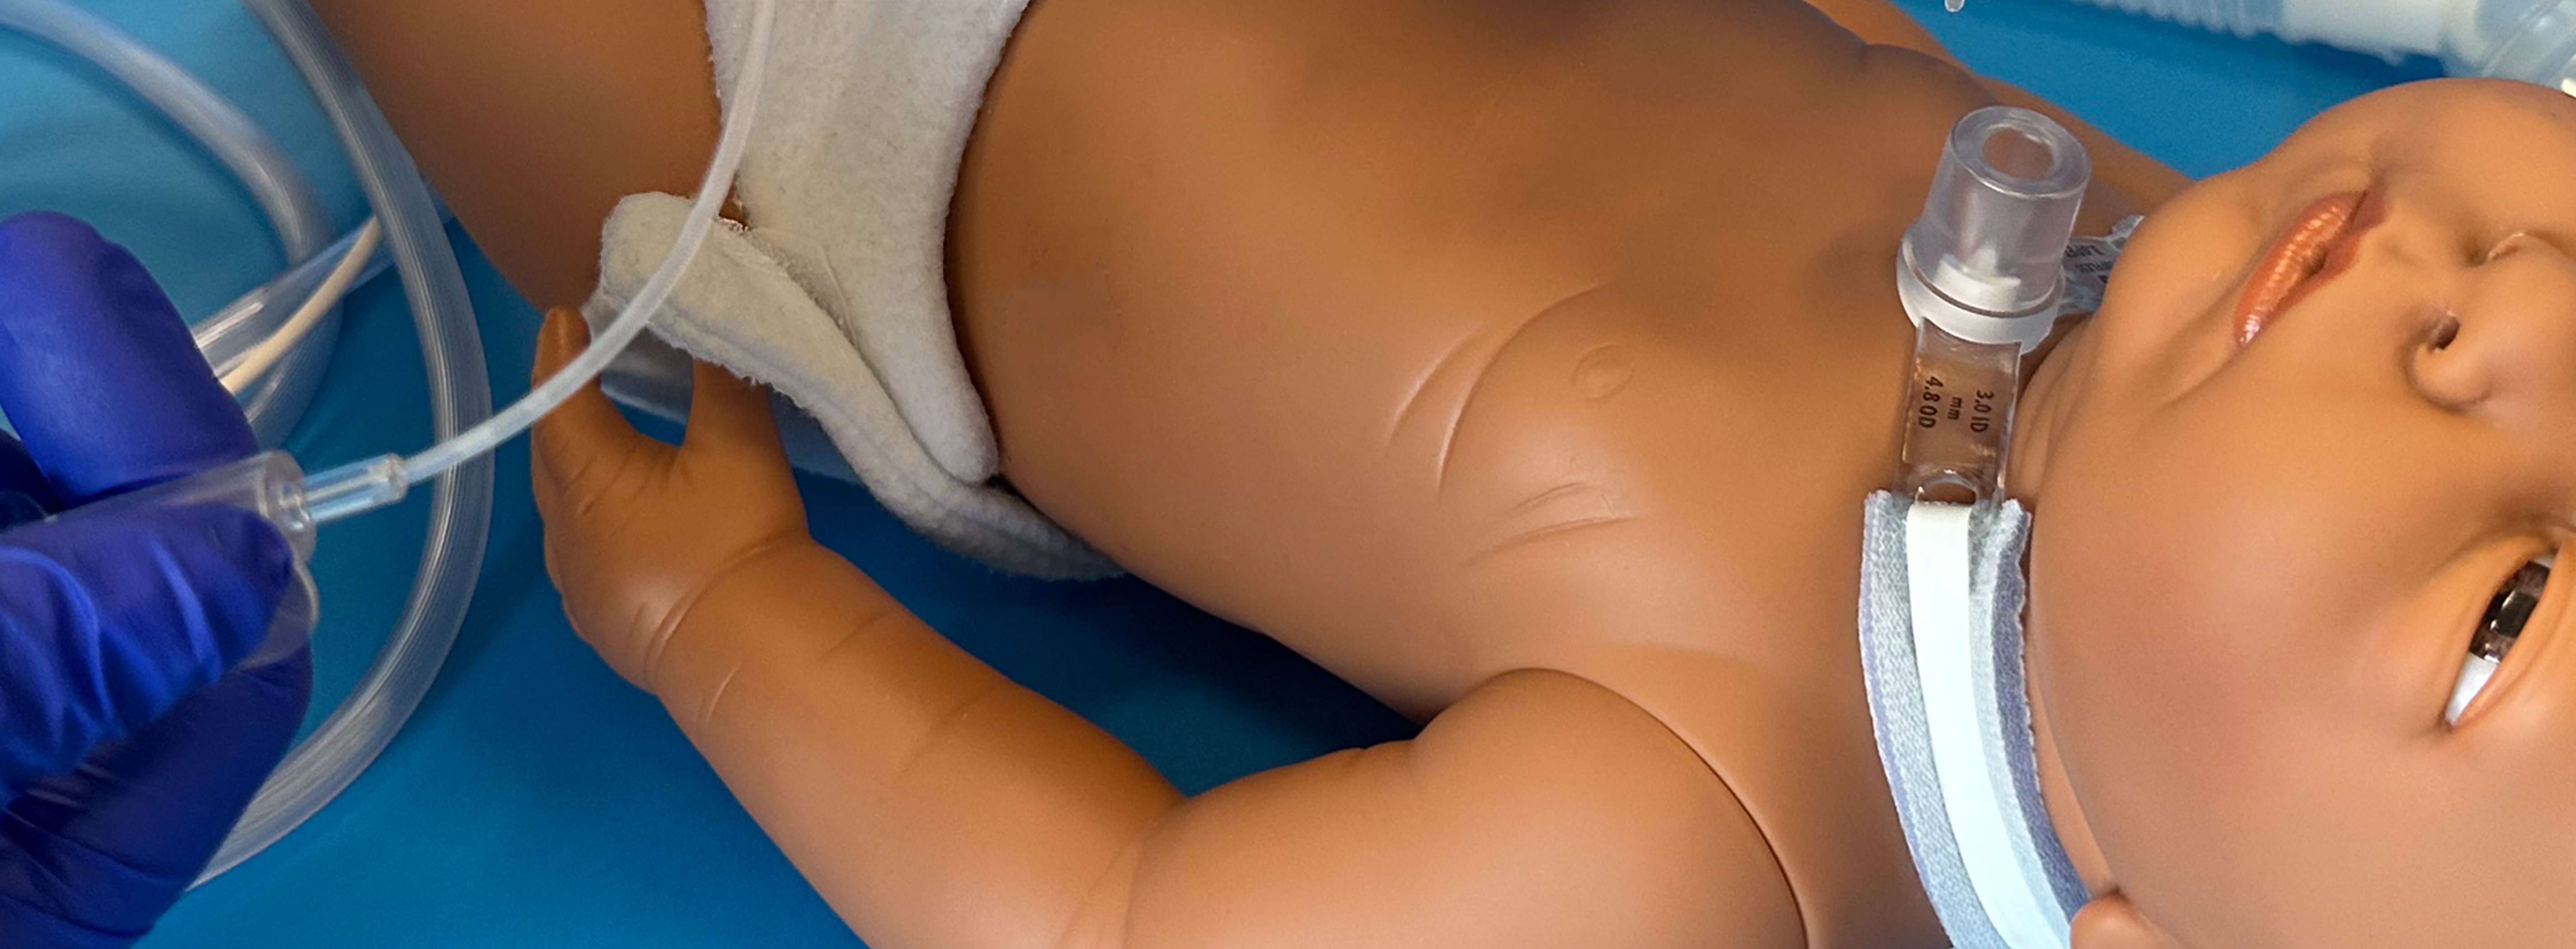
Find step-by-step instructions on how to perform CPR on an infant, child or teen with a tracheostomy tube.
By the end of this chapter, you will be able to:
- demonstrate what to do before performing CPR on an infant, child or teenager
- demonstrate the steps to perform CPR
Important!
The instructions below are not intended to replace hands-on CPR training from your child’s health-care team.
The table below has instructions on performing
CPR for an infant, child or teen with a tracheostomy. Familiarize yourself with these steps.
How to perform CPR when a child has a tracheostomy
| Teen | Child | Infant |
|---|
| 1. Secure the scene | Make sure the immediate environment is safe. |
| 2. Check person | Check breathing and pulse rate for responsiveness. Signs that a person is unresponsive include: - no breathing or only gasping
- no response with touch
|
| 3. Call 911 | Call for help.
If alone, call 911 and put them on speakerphone.
If alone and without a phone, find one and call 911. | Call for help.
If alone, call 911 and put them on speakerphone.
If alone and without a phone, start CPR (see step 4) before trying to find a phone. |
| - If you are alone without a cell phone and did not see the onset of the breathing emergency, do two minutes of CPR before getting help.
- If someone is with you, have them call 911. Ask them to tell you when that is done.
- Ensure you let the EMS dispatcher know that the child has a tracheostomy.
|
| 4. Start chest compressions | - Start doing 30 chest compressions, followed by two breaths (see below).
- Compress at a rate of 100-120 compressions a minute.
- Ensure that the chest recoils (goes back to its original position) after each compression.
- If there is another person with you, take turns following the 30:2 ratio of compressions to breaths. Once you perform two minutes of CPR (chest compressions and breaths), have the second person perform CPR for two minutes.
- Continue switching roles every two minutes or switch sooner if one of you is too tired to continue chest compressions.
|
|
For children and teenagers:
Place the heel of one or two hands over the lower third of your child's breastbone. Be sure to push hard enough so their chest moves approximately 5 cm (2 inches) down (push hard). Ensure you allow the chest to rise all the way back up each time. |
For infants (less than one year of age):
Place your two fingers on the breastbone, just below the nipple line. Be sure to push hard enough so their chest moves approximately 4 cm (1.5 inches) down (push hard). Ensure that you allow the chest to rise all the way back up each time |
| 5. Give breaths | - Uncover the tracheostomy tube so the manual resuscitation bag can be attached.
- Use the manual resuscitation bag to give
two breaths into the tracheostomy tube as you were taught. Give just enough air volume to make the chest rise.
- If the chest does not rise with a manual breath, suction before trying two breaths again.
- If there is no chest rise, change the tracheostomy tube before trying two breaths again.
- If you cannot replace the tracheostomy tube, give ventilation through the mouth and nose, as with regular CPR or through the stoma if your child has a critical airway
|
| 6. Continue CPR | - Give CPR in 30:2 ratio (alternating 30 compressions and two breaths).
- Continue until medics arrive with an AED (automated external defibrillator).
- If you are in a public place with an AED, ask someone to bring it to you.
| - Keep CPR going for two minutes. This is five cycles of 30:2 (30 compressions and two breaths).
- Stop CPR after two minutes to call 911, if not already called.
- Resume CPR until medics arrive.
|
| 7. When to stop CPR | - Stop chest compressions when you see signs of life.
- Continue to support breaths with manual resuscitation bag if needed.
|
