By the end of this chapter, you will be able to:
- describe when to use sterile water
- demonstrate how to sterilize distilled water
What type of water should I use in my child's humidifier?
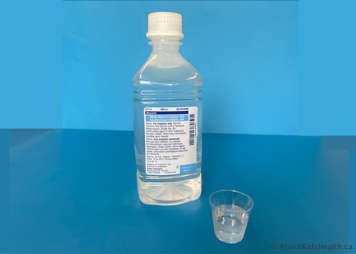
You must sterilize distilled water to make sure it is free of germs and safe to use for trach care.
Using sterile, distilled water for tracheostomy care and in your child’s humidifier helps to reduce your child's risk of developing lung infections. Distilled water will also help with preventing mineral buildup in the humdifier chamber and device.
You will use sterile distilled water when you:
- fill your child’s humidification equipment
- fill your child’s cuffed trach (if applicable)
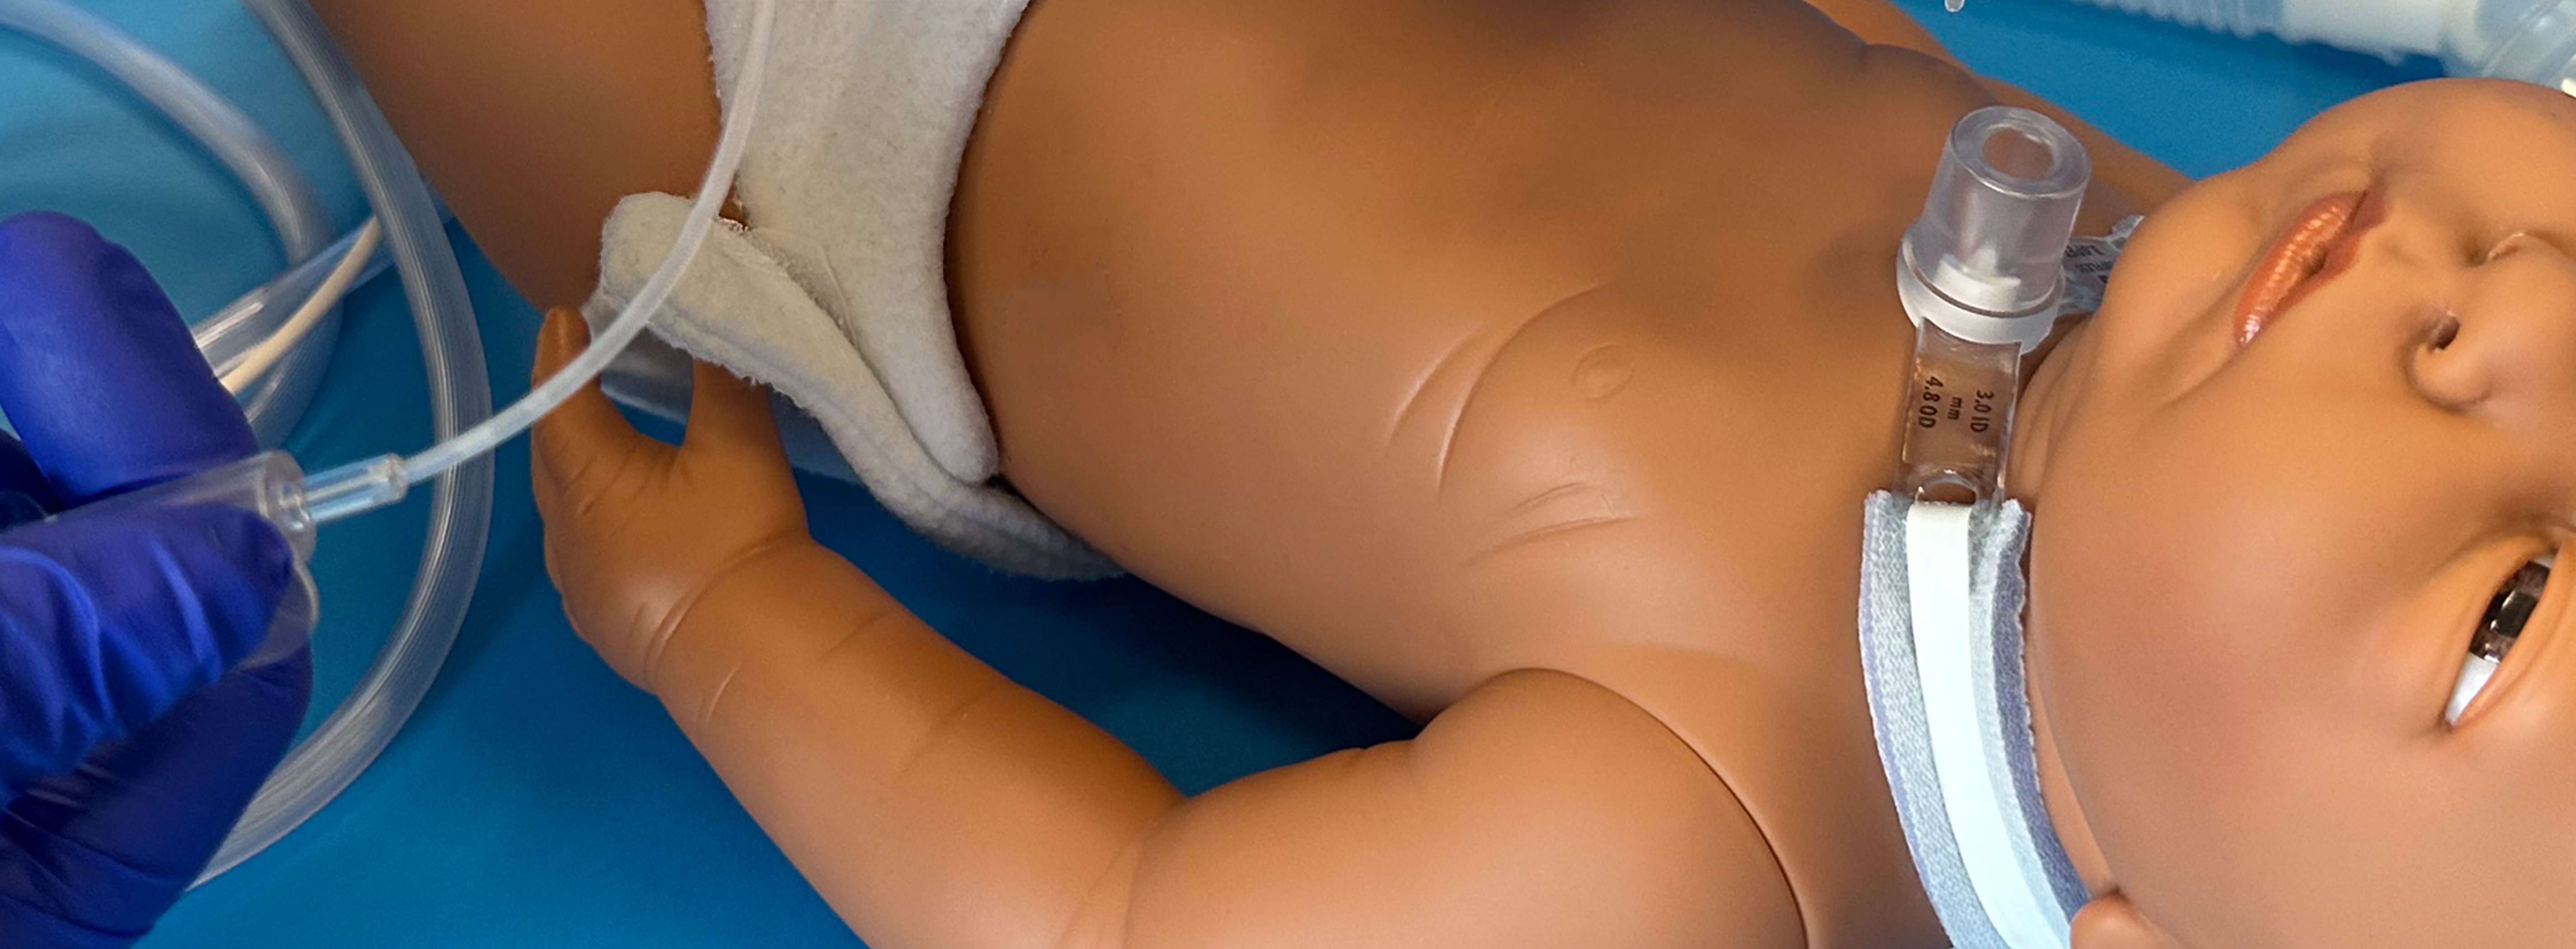
- do stoma care and clean the skin around the stoma
- clean the inner cannula of the trach (if applicable)
- clean speaking valves or corks
How to sterilize distilled water
- Put the desired amount of distilled water in a kettle or dedicated pan (that has a lid). The pan will only be used for sterilizing water, not for cooking or other purposes. If using a kettle, make sure it does not have an automatic shut-off.
- Allow the water to boil vigorously uncovered for at least 5 minutes.
- Turn off the heat and cover the pan. Allow the water to cool with the lid on before you use it. Do not use ice to cool down the water.
- When the water has cooled, pour it into a sterile container (see next section on sterilizing containers) and seal the container.
- Label the container with the date and time that the water was made.
To sterilize containers:
- In a separate pan, cover the containers with water and boil them uncovered, for 10 minutes.
- Turn the heat off, put the lid on the pan and allow it to cool.
- When the water and containers have cooled, they are ready to use.