At the end of this chapter, you will be able to:
- identify the various attachments or adjuncts the your child may need
- learn how use these adjuncts safety
What can be attached to the end of a tracheostomy tube?
Your child’s health-care team will make recommendations for different tracheostomy tube attachments based on your child’s needs. Your child can be prescribed one or more attachments. Always follow the advice of your child’s health-care team before applying any of these to the tracheostomy tube.
Attachments/adjuncts
The following are attachments and adjuncts that you may need for your child’s tracheostomy tube:
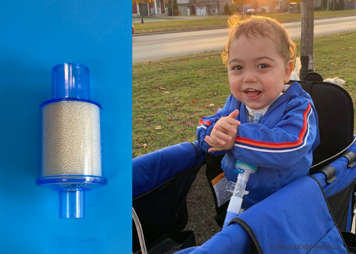
- heat and moisture exchanger (HME): a humidifying filter that fits on the end of the tracheostomy tube and comes in several shapes and sizes
- tracheostomy cap
- speaking valve
- tracheostomy mask
- heated high flow humidifier tracheostomy adaptor
- ventilator adaptor
Heat and moisture exchanger (HME)
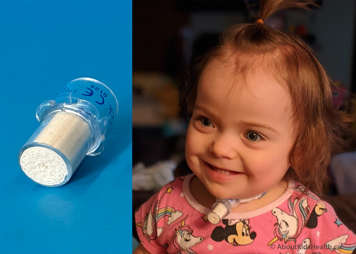
A heat and moisture exchanger (HME) is a humidifying filter that fits on the end of the tracheostomy tube and comes in several shapes and sizes.
Tracheostomy cap or cork
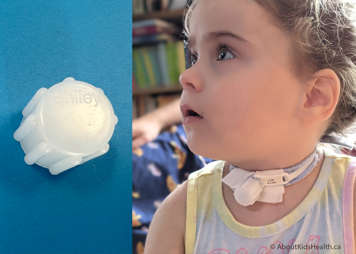
A tracheostomy cap fits over the opening of the tracheostomy tube.
It can be dangerous for your child to use a tracheostomy tube cap if your health-care provider does not say it is safe to use. If your child is allowed to use a tracheostomy tube cap, your health-care team will give you clear recommendations before your child is discharged home.
A tracheostomy cap completely covers the end of a tracheostomy tube and prevents air from entering or leaving. The child must be able to breathe through their mouth and nose since the tube is blocked. The child must have their cuff deflated or have an uncuffed tube. It can be used during the day for children that need ventilation only at night. It is also often used when a plan is in place to remove the tracheostomy tube.
Important
Before using a cap, make sure your child’s cuff is deflated ("down"). Always take the cap off before re-inflating the cuff.
Speaking valve
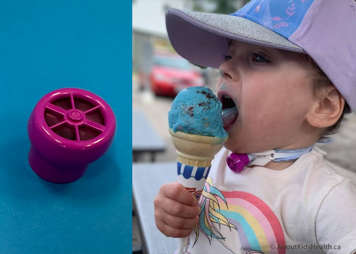
A speaking valve is a one-way valve that attaches to the end of the tracheostomy tube.
A speaking valve is not recommended for use when the child is sleeping.
When the child breathes in, air goes to the lungs. But when the child breaths out the valve closes, forcing air to go up and through the voice box and out of the mouth and nose. This encourages the child to make sound, if they can.
The child must have their cuff deflated or have an uncuffed tube and they must be able to breathe through their mouth and nose. Your health-care team will evaluate your child’s readiness and provide clear instructions on how to use it.
| Please note: Your child’s ENT surgeon will inform you if your child’s vocal cords are functioning. Producing sounds (vocalization) requires air to come up past working vocal cords, and that (speaking) requires these in addition to appropriate function of the brain, tongue, throat and muscle tone. If your child is diagnosed with paralyzed vocal cords, a placement of a one-way valve may not produce noise. |
For more information on speaking valves, please see the chapter on communication.
Tracheostomy mask
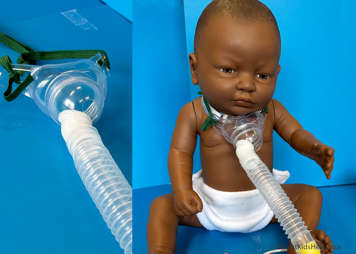
Heated high flow humidifier tracheostomy adaptor
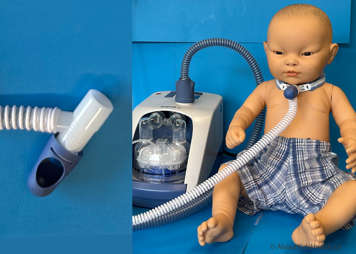
Ventilator adaptor
