At the end of this chapter, you will be able to:
- identify parts of a manual resuscitation bag
- demonstrate how to provide manual breaths with a manual resuscitation bag
- demonstrate how to perform safety checks
What is a manual resuscitation bag?
A self-inflating manual resuscitation bag is a football-shaped device that is attached to your child’s tracheostomy tube squeezed to give breaths to your child. It can be disposable or reusable. It is a good idea to have a backup resuscitation bag:
- while the other bag is getting cleaned
- to have separate bags for bedside and travel setups
- in the event the bag malfunctions
Note: Manual resuscitation bags are also called Bag-Valve-Mask (BVM), Artificial Manual Breathing Unit (Ambu bag/resuscitator) or manual ventilators.

When will I need to use a manual resuscitation bag?
You will need to use a manual resuscitation bag:
- before and after suctioning, if recommended by your child’s health-care team
- when your child is having trouble breathing on their own, in an emergency
- when there is a problem with your child's ventilator (if they have one)
- when no power source is available to operate the ventilator (if they have one)
Precaution
Children with tracheostomy tubes should always have a manual resuscitation bag with them in case of an emergency. Caregivers should review skills in manual resuscitation often. It is also advisable to review this during annual CPR training.
How does a manual resuscitation bag work?
When the bag is squeezed, the air inside it goes into your child’s lungs. The air your child exhales (breathes out) goes through a valve on the bag. The bag then re-inflates by itself.
If your child needs oxygen, you can add it by attaching oxygen tubing to the bag’s oxygen inlet connection. A reservoir bag is attached to the main resuscitation bag and fills up with pure oxygen that is used when delivering breaths to the child.

Do manual resuscitation bags come in different sizes?
Yes, manual resuscitation bags come in different sizes, which vary according to the weight of your child. Different brands of bags may vary slightly in size.
Speak to your child’s health-care team about which size is appropriate for your child right now. As your child grows, make sure to reassess the manual resuscitation bag size with the team. Below is an example chart that shows approximately what size resuscitation bag you should have for your child.
| Minimum bag size | |
|---|---|
| Infant | > 300 mL |
| Child | > 500 mL |
| Teenager or adult | > 1000 mL |
The Laerdal Silicone Resuscitator brand is a commonly used bag and comes in the following sizes:
- adult size for patients over 20 kg
- paediatric (child) size for patients between 2.5 and 20 kg
- preterm size for patients that weigh less than 2.5 kg
Pressure relief (pop-off valve)
The paediatric and preterm manual resuscitation bag also includes a pressure relief valve or "pop-off" valve to prevent excess pressures and keep lungs from over-inflating. Your child’s health-care team will teach you how to check the pop-off valve and when to use it. Typically, it is used for most children, but in some cases when a bigger breath is needed or when your child is desaturating with bagging, the pop-off is disabled.
Important: When testing the bag, the pop-off valve should be in the OFF position (up), as seen on the right side of the image below. When manually ventilating a child, the pop-off valve should be in the ON (down) position so that excess pressure can escape, as seen on the left.

Masks
A face mask and a stoma mask (if your child is prescribed one) should always be kept with the manual resuscitation bag.

A face mask is required if you cannot reinsert the tracheostomy tube and your child requires ventilation support.
The face mask is intended to be used by the health-care providers that support you in the home (e.g., home nurse, respiratory therapists, paramedics). The face mask will need to be changed as your child grows.
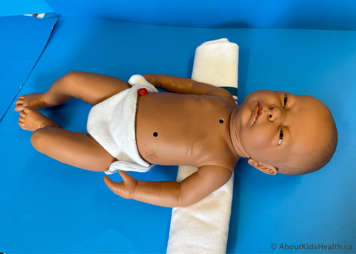
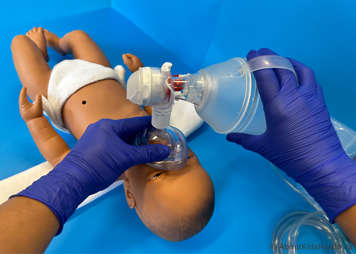
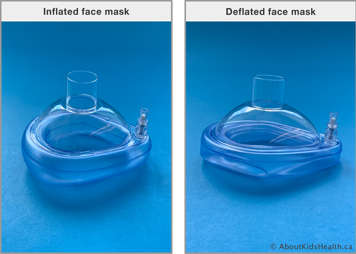
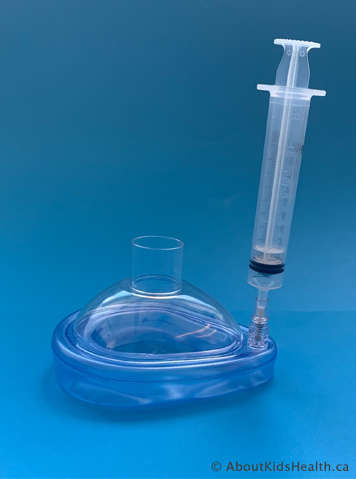
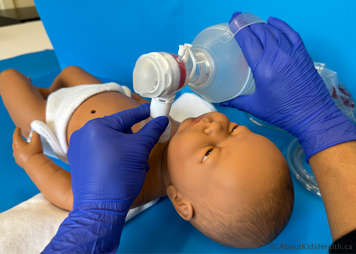
A stoma mask is attached to your manual resuscitation bag to provide manual breaths to your child through their stoma. If you cannot place the tracheostomy tube back in, you can provide your child with breaths through the stoma by creating a good seal. In your CPR class, you will learn how to manage your child if they deteriorate and require mouth to mouth breaths and compressions.
Your child’s ear, nose and throat (ENT) surgeon may only prescribe a stoma mask if your child has a critical airway (they cannot get in air from their upper airway - mouth and nose).
In the next section, you will learn how to ventilate the stoma.
